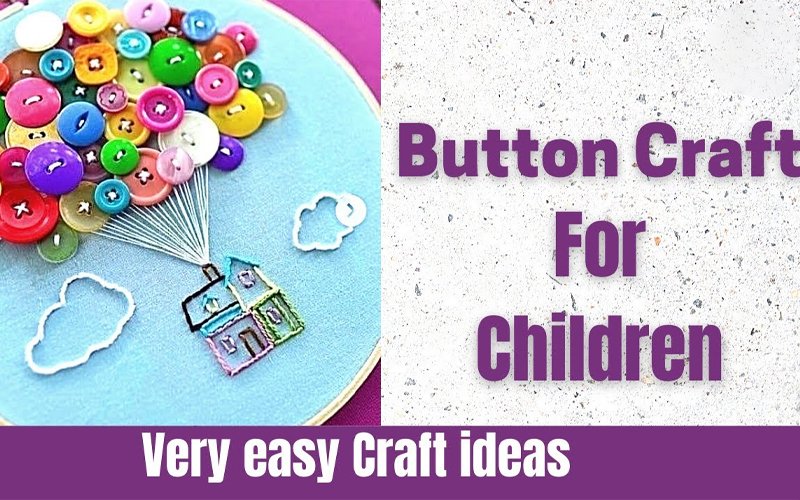
Creating button art is a delightful and imaginative craft that allows kids to transform ordinary buttons into colorful and textured masterpieces. This craft is not only fun and engaging but also enhances fine motor skills and encourages creativity. Here’s how to get started with button art:
Materials Needed:
- Assorted buttons in various sizes, shapes, and colors
- Cardstock, canvas, or sturdy paper as the base
- Glue (craft glue or a glue gun)
- Markers or colored pencils (optional, for adding details)
- Pencil (for sketching the design)
- Optional: Frame or display stand if desired
Steps:
- Choose a Design: Decide on the design you’d like to create with the buttons. It could be a simple shape, an animal, a flower, a scene, or even an abstract pattern. Keep in mind that the design should be simple enough to translate into button art.
- Sketch the Design: Use a pencil to lightly sketch the chosen design onto the base material. This sketch will act as a guide for placing the buttons.
- Sort and Select Buttons: Sort the buttons by size, shape, and color. This will make it easier to find the buttons you need as you work on the design.
- Glue the Buttons: Apply glue to the back of a button and press it onto the base, following the sketch. Start with larger buttons for the main elements of the design and then fill in with smaller buttons for details.
- Create Layers and Textures: Experiment with overlapping buttons to create depth and texture. You can layer buttons on top of each other to mimic shadows or add dimension to your design.
- Add Details: Use smaller buttons or different colors to add details to your design. For example, you can use smaller buttons for eyes, noses, or other features.
- Allow to Dry: Allow the glue to dry completely before moving or displaying your button art. This may take some time depending on the type of glue used.
- Optional: Frame or Display: Once your button art is dry, you can frame it in a shadow box frame or simply display it on an easel or shelf. This will protect the buttons and showcase your creation.
Tips:
- Be patient and take your time arranging the buttons. Play around with different placements before gluing them down.
- If you’re working with younger children, consider using a glue gun under adult supervision, as it provides a quicker drying time.
- Encourage kids to think creatively and adapt their designs as they work. Button art allows for flexibility and experimentation.
- Button art can also be turned into personalized greeting cards or gifts by attaching the finished design to a folded card.
Button art is a delightful way for kids to explore colors, shapes, and textures while creating unique and visually appealing pieces of art. It’s a craft that can be enjoyed by children of various ages and skill levels.